Disclosure: This article may contain affiliate links. These are links to products and services that I recommend. If you click one of these links and sign up or buy one of these products or services, I will earn a commission from it at no additional cost to you.
So you’re interested in starting an online store using Shopify. That is a great choice because Shopify makes it easy for you to build an online shop to sell your own products to customers and make money. I’ll show you how in this Shopify beginner’s tutorial.
Now there’s a lot that goes into Shopify and it can be overwhelming, right? This is why I put together this step-by-step guide to help you get started on the right track, even if you’re just a beginner.
With that being said, here are the steps we will go through:
- Think of what your store will be like.
- Create a free Shopify account.
- Set up your business account.
- Tweak your online store settings.
- Add a theme and products to your store.
- Test out your store before launch.
- Launch your store and promote it.
And now let’s start your Shopify online store!
Step 1: Think of what your store will be like.
But, before you even get going, you should think about what kind of online store you want to run. You need to figure out what kind of products you want your online store to sell and how you are going to run your store.
Find Your Niche
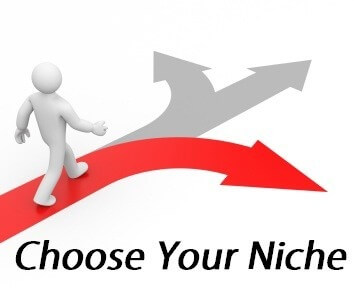
The biggest question is: what kind of products do you want to sell?
It helps if you think about a niche for your online store. In other words, figure out what kind of products make you interested or passionate about selling.
If you like cycling, sell bicycles. Maybe you’re into fashion, so you could sell stylish clothes for ladies and children. Perhaps you are a tech nerd, meaning that you would be interested in selling computer software.
By finding your niche or your passion, you will find managing your online store a little more enjoyable. You’ll also be able to relate to the customers who visit your store.
Plan Out Your Store

Next, you need to decide how you are going to run your store. You need to keep in mind that a Shopify store takes a lot of dedication in order for you to earn money. Here are some things you will need to do in order to run your store:
- First, how are you going to receive the products for your store? Are you going to create your own or buy them at a low price and resell them for profit? Figure out how you will get the products for your store.
- Next, how will you ship your products? Are you going to use drop shipping or will you or your team ship the products on your own? Find out how you are going to send the product to your customer in a timely fashion.
- Lastly, are you running your store solo or with a team? Decide if you are willing to work on your home-based business by yourself or if you want to recruit some people to help you out.
Make sure to write answers to all these questions down on a piece of paper or on a text file on Notepad so you have a plan for your online store right in front of you. Now that you have a foundation for your online store, it’s time to start building it!
Step 2: Create a free Shopify account.

Obviously, the next step is to start a free Shopify account.
Yes, you can get started for free. You’ll be able to use Shopify for a free 14 days so you can see if Shopify really is right for you. And the best part is: you don’t need your credit card in order to access the free trial!
All you need to do is go to the Shopify website and click the button on the top right to sign up for an account. All you need to do is enter your email address, create a password, and give a name for your new online store!
The Next Steps
Once you’ve logged into your account, you should land in your Shopify Admin. This is where you can do one of two things:
- Create an online store and publish it on a domain of your choice
- Embed Shopify to a website you already have
In this article, I will only teach you how to do the first method: create an online store with your own domain.
If you want to just add Shopify to a website you already have, then I recommend you learn about the Buy Button and how you can use it to embed an online store onto your website and sell products directly on your site.
Pricing Plans
Before we continue, let’s go through the pricing plans you can choose from once your free trial has ended.
As a beginner, I highly recommend you go for the Basic Shopify plan. This gives you all the basics you need to start your Shopify store or a product page for your website.
If you get better at your Shopify store and want to take it to the next level, you can consider one of their higher plans, which includes lower transaction fees, more professional reports, and more managers for your team.
You can see the full list of Shopify pricing plans here.
Step 3: Set up your business account.
Before we get things rolling, you need to set up your Shopify business account.
Let’s start by password-protecting your online store. That way, nobody can access your online store while you’re still getting it ready. You can find this in the Online Store > Preferences section.
Enter Business Information
Now provide information about your business. After all, your online store is going to be a business! Here are the things you need to provide:
- A business name and address
- A time zone for your store
- Accepted currencies for your store
- A weight unit to list your products in
Put all this information in the Settings > General section of your store.
Select Payment Providers
Under Settings > Payments, choose the payment providers your store will accept. Keep in mind that, if you want to accept cards, you will need something called a payment gateway, such as Shopify Payments.
By default, Shopify will set up PayPal as the default means of payment for your store. All you need to do is connect your PayPal account so you can receive payment. Shopify also allows you to add other payment methods like Amazon Pay, Google Pay, and Apple Pay.
Step 4: Tweak your online store settings.
Now that the business part is done, let’s configure your online store by setting up shipping and taxes and choosing a domain.
Set Up Your Shipping
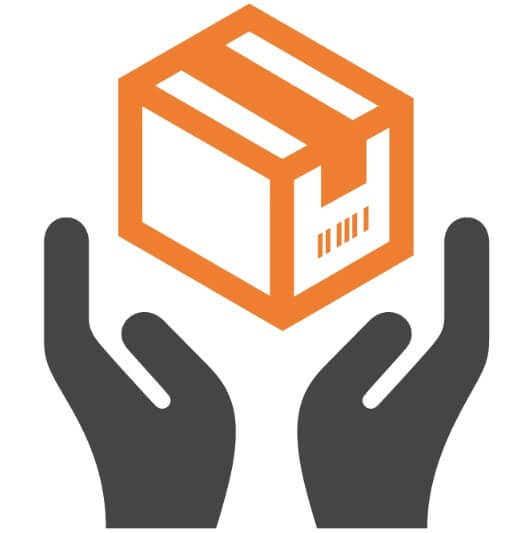
At this point, you need to decide how you are going to ship your products. There are basically three ways you can have products shipped from your online store: 1) manual shipping, 2) fulfillment by Amazon, and 3) drop shipping.
Shipping Manually
By manually shipping, you (and your team) have to keep and maintain your inventory and send the products when an order is made. Head over to Settings > Shipping and Delivery. There, you will need to set up the packages you’ll use, the shipping labels, and specify shipping zones. Here’s Shopify’s shipping guide to help you out.
Fulfillment by Amazon
You may have heard of Amazon FBA, but you probably didn’t know you can have your Shopify store’s products kept in the Amazon warehouse. Make sure you have an Amazon seller account and simply connect it to your Shopify store.
This Shopify guide to FBA will teach you how to do that step by step.
Drop Shipping
Drop shipping is where you sell another merchant’s product on your online store at a higher price and pay that merchant to send it directly to your customer.
You can use special Shopify plugins to help you list others’ products on your store as well as plugins that can automatically pay the merchant to send a product to a customer when an order is received. Check out my drop shipping for beginners article for more information.
Add Taxes, Policies, and a Domain
Now you need to set up taxes for your products. There’s a lot that goes into that, so check out Shopify’s guide to taxes to help you out here.
By law, you need to let your customers know what the terms and privacy policies are for your online store. Get this done in the Legal section of your Shopify.
Last but not least, decide what your store’s domain is going to be. You can leave it in the My Shopify subdomain, but I recommend you have your own professional domain name that corresponds to your niche and the products you’ll be selling.
Head over to the Domains section of your Shopify to purchase a domain or use a domain you already bought for your store.
Step 5: Add a theme and products to sell.
Guess what? We’re done with all the settings. Time to put your actual store together.
Choose a Theme
Let’s start with your theme, which will be the look and feel of your store. The theme is what gives your store a unique appearance to your visitors. Some themes can give you some control over what your store will look like.
Head over to the Themes section of your Shopify admin. You can choose a free theme inside the admin or buy a paid theme in the Shopify Theme Store.
Be sure to choose a theme that aligns with the atmosphere you want to provide.
Add Your Products
It’s now time to list your products into your online store.
Now, if you choose to drop ship, you can use a Shopify plugin like Oberlo or Dropified that will allow you to select products from a merchant to add to your online store. That way, you won’t need to manually add the details.
But, if you need to add manually, click on the Products section of your Shopify admin. There, you can add your first product and enter the details for your product, such as title, description, image, tax code, and more. And, of course, do the same exact thing with any other product you’re selling.
You can find more information on adding products to your Shopify store here.
Bonus Steps You Can Do
Great news! We’re just about done. Here are a few bonus things you can do to complete your Shopify store:
- Go to the Collections section of your admin and organize your products into collections. That way, customers can easily find stuff that interests them and it helps you find your products easily.
- Go to the Plugins section and install some plugins that can benefit your Shopify store and offer you more awesome settings to your online store. You can find Shopify plugins in the Shopify App Store.
- Consider adding a blog to your store in Online Store > Blog Posts. Offer valuable information related to the products you’re selling. This is why you should be passionate about the niche of your online store. If you’re not sure how to write, you can outsource blog content or learn how to create a good blog post.
Step 6: Test out your store before launch.
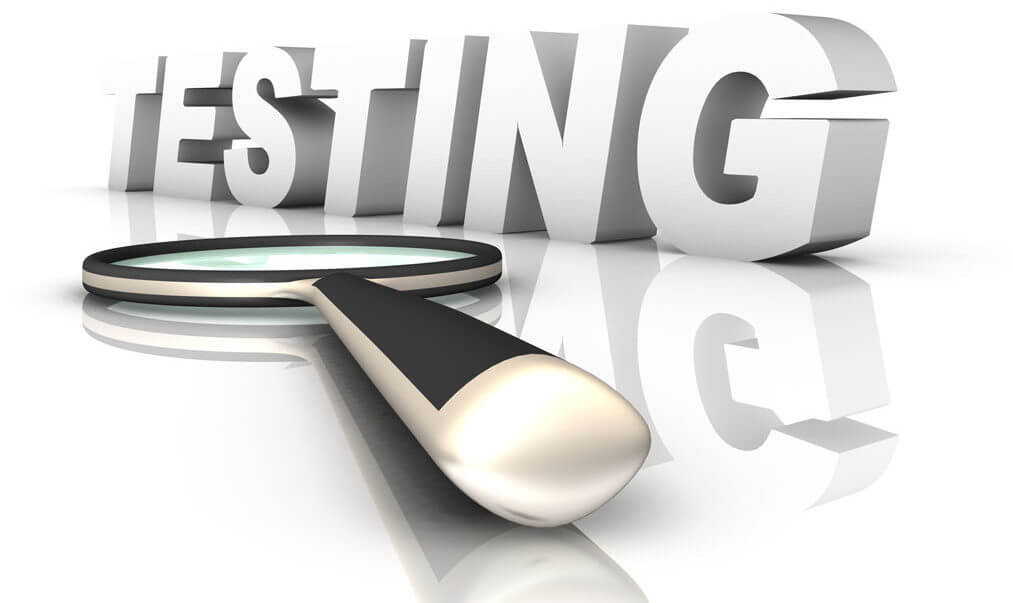
All right, your store is now set up and ready for business. Now, before you launch it, you should test your online store to make sure your customers get a good experience.
Start Testing
I recommend that you spend a week or so regularly testing your store. Pretend that you’re a customer. Navigate your store, see if you can find your products easily, and then test the checkout process. If you encounter difficulties or glitches as you go, make sure you find the root of the problem and fix it.
Testing the Checkout Process
Now there are two ways to test the checkout: you can simulate a transaction or you can create a real transaction which will allow you to test order cancelation. You are also able to test shipping options during the checkout process.
Take a look at this Shopify testing guide to understand how to test the checkout.
You will probably encounter problems during the checkout process. Make sure that your admin payment and shipping settings are configured correctly. Go to the Settings section of your admin if you need to fix any problems.
Step 7: Launch your store and promote it.
Congratulations! Your online store is ready to open! Go back to Online Store > Preferences and remove the password protection from your store. Once you do, your store is live on the Internet!
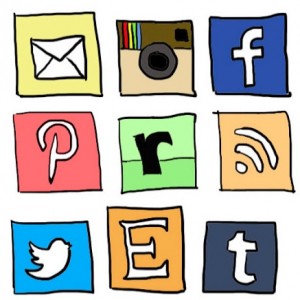
Now that your store is launched, you’re not going to get visitors right away. No one knows you’re around, so you need to promote your online store.
There are plenty of ways you can share your store with others for absolutely free. Here are a few examples:
- Run a YouTube channel around the same niche as your online store. Upload helpful videos related to your niche and, at the end of your video, invite your viewers to check out your online store.
- Join Facebook groups and forums related to your niche and provide tips and advice for others in your niche. Then invite them to head over to your online store and check out the products you’re selling.
- Upload pins onto Pinterest related to your niche. You can use Canva.com to create Pinterest pins for free. On your pin, be sure to include a link to your online store.
Conclusion
Free Resources
Included with Shopify are some free tools to help enhance your online store business and make sure you are on your way to e-commerce success. These include the Shopify Compass which is a free e-commerce learning academy, some free guides packed with good information to help you, and many free business tools.
Make sure to check these freebies out as they can help you in your success in becoming a true online entrepreneur.
Final Words
Shopify makes it easy to start an online store and sell stuff over the Internet to make a good profit. This guide took a lot of steps, but it will take some getting used to.
To help you out, use this complete checklist to set up a Shopify store.
But did you know there are ways to make money without you having to always run an online store? It’s true! Check out my five different ways to make passive income online. Out of those ways, my personal favorite way to make passive income is through affiliate marketing, and you can learn more about affiliate marketing here.
I hope this article helped you learn how to get started with Shopify the right way. And I wish you all the best in your work in your new online store. It will take a lot of work and time to make some money, but it will be all worth it!