Here is your complete guide on how to start a blog and make money with a blog.
Blogging is a great way to make money from home, especially if you’re an introvert, enjoy typing, prefer teaching with words, or all of the above!
In this guide, I will show you step by step what you need to start making money with a blog. Along the way, I will give you some blogging tips that most beginners don’t know about.
There will be a lot to cover, so feel free to jump to a different section of this post using the table of contents below.
Also, feel free to bookmark this guide so you can return to it at any time.
Table of Contents
Before We Begin
Let’s start with the basics. What is blogging?

Blogging is a type of content creation in which you run a blog, that is, a website where you create articles called blog posts for an audience. These blog posts are focused on a specific area of life. Over time, your blog will be visited by people who want more information about a subject in your niche.
Select Your Blogging Phase
Now that we know what blogging is, let’s talk about what I call your blogging journey.
There are four phases of the journey. First, you start your blog. Second, you write content for your blog. Third, you drive traffic to your blog. And fourth, you make money.
I have broken down this guide into these four phases so you can see the steps that apply to you. Select your phase below to get started.
Phase One: How to Start a Blog
So you’re new and you’re ready to start a blog? Awesome! There are a few things you’ll need:
- One niche for your blog (step 1)
- A name for your blog (step 2)
- Hosting and a domain name for your blog (step 3)
- WordPress to set up your blog (step 4)
Let’s go through each of these in detail.
Step 1: Pick One Niche
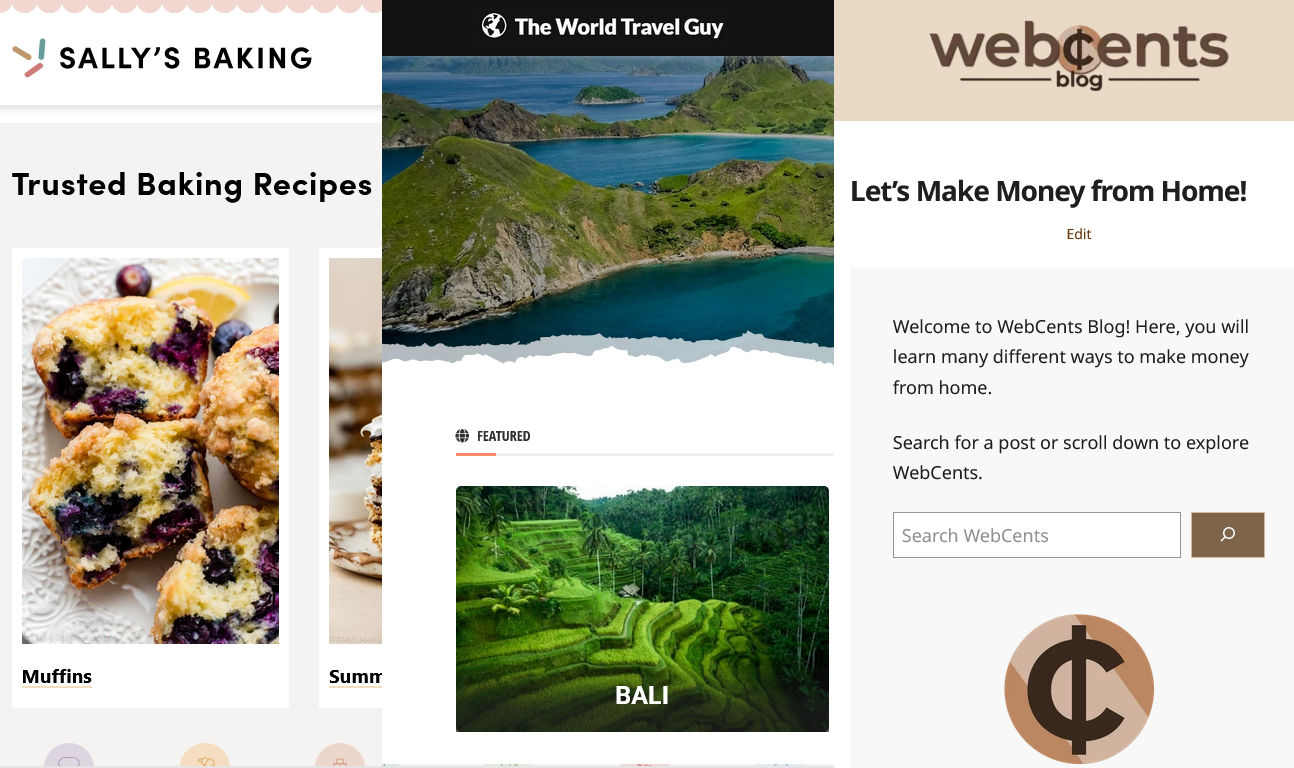
A niche is an area of life that you’ll be focusing on in your blog. The goal is to make your blog a hub for information in your niche. For example, WebCents Blog’s niche is making money from home (finance).
There are many examples of niches:
- Food & recipes
- Health & wellness
- Finance
- Travel
- Gaming
- Software
- Bicycling
- Music
- Music
- The list goes on. You can find more niche ideas here.
Select one niche that piques your interest. Make sure it’s a niche you’ll talk about for a long time. This niche will be the main focus of your blog.
Tip: According to RankIQ, food, finance, lifestyle, and travel are high-paying niches. If you’d like to make more money and one of these interests you, I recommend picking it.
Step 2: Name Your Blog
Now let’s give your blog a name. There are two ways you can name your blog:
- Pick a brand name related to your niche (for example, Tim’s Tech Fixes), or:
- Name your blog after yourself (for example, Ryan Robinson and Martha Stewart).
Using one of these methods, pick a good name for your blog.
Tip: If you cannot think of a good name for your blog, you can try using an AI website name generator like Namelix. Just enter a few words related to your niche, and it will suggest names for you.
Step 3: Sign Up for Hosting
OK, it’s time to actually start your blog!
To start your blog, you’ll need hosting. This is what allows your blog to live on a web server so the Internet can see it. You’ll also need a domain, that is, the address that people will type in their browser to get to your blog.
Many websites sell hosting and domains. But, in this guide, I’ll show you how to start your blog with Bluehost, my favorite hosting provider. (WebCents is hosted with Bluehost.)

Here are a few reasons why I like Bluehost:
- Their plan is cheap: only $2 per month
- They give you a free domain for your first year
- They give you a free email address for your website
- They help you set up your website using AI
- They have 24/7 customer support
- They are recommended by WordPress.org
Use the button below to sign up for Bluehost. Once you’re on the Bluehost website, select the Basic plan for $1.99 per month.
Other Hosting Providers
If you would rather pick a different provider, here are a few ideas:
- DreamHost: click “Get Started” and sign up for the Shared Starter Plan.
- Hostinger: scroll down and sign up for the Premium Plan.
- AccuWeb Hosting: click “View Plans” and sign up for the WordPress Startup++ Plan.
- Hosting.com: click “See Our Plans” and sign up for the Starter Plan.
Please note that this guide will provide steps for Bluehost. Try to follow these steps with your hosting provider’s website. If you need help, visit your provider’s help center or contact their customer support.
Step 4: Pick a Domain and Check Out
Once you select your hosting plan, you should see a domain selection screen.
Select Your Domain
Follow these steps to pick a domain.
- Remember the blog name you picked in step 2.
- Type your blog name in the search bar, select “.com” and click “Search for Domain.”
- If the domain you entered is unavailable, change your blog’s name a bit and try again.
- If the domain is available, you’ll see a checkout screen.
Most people remember “.com” at the end of a website, so try sticking with “.com” for your domain.
Complete Your Payment
After you select an available domain, you should see the checkout page. It will show you the hosting plan and domain you selected.
You will also see “Domain Privacy + Protection” added to your bundle. This keeps information about you and your domain private.
You can ignore the optional add-ons. Just select “Continue to Checkout.” On the page that appears, enter your personal information and payment details. Then click “Submit Payment.”
Congratulations, you just started a blog!
Step 5: Set Up Your Blog
Now, let’s set up your blog using WordPress. 43% of websites are using WordPress because it’s easy to use, it has many features, and no coding is required!
There are other WordPress alternatives, such as Joomla, Drupal, and Squarespace. However, these programs are not really designed for blogging.
How to Set Up WordPress
Most hosting providers give you the option to install WordPress. Some may have WordPress already installed for you. If you’re not sure, check your hosting provider’s help center.
Once you install WordPress, your dashboard should look something like this.
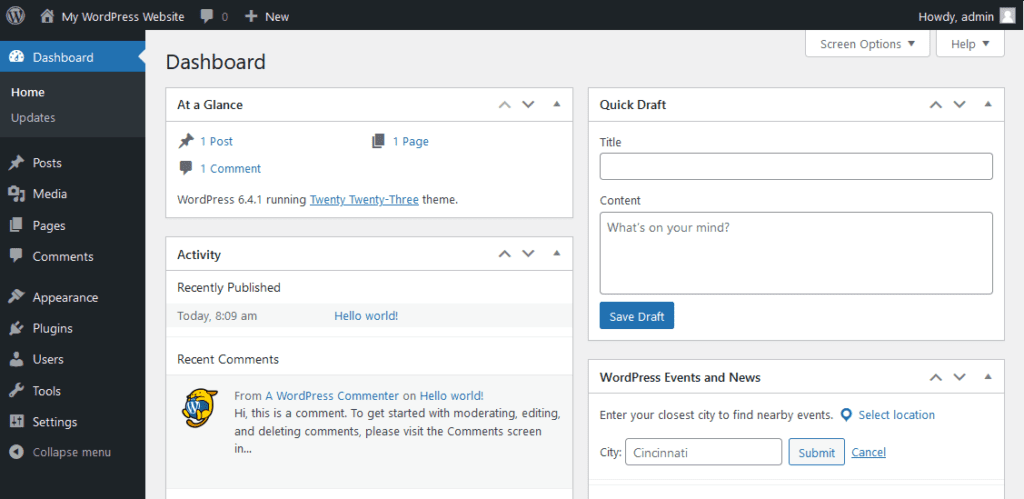
You can access this WordPress dashboard anytime by typing in: your domain + “/wp-admin“. So, if your domain is example.com, the link to your WordPress is example.com/wp-admin.
How to Customize with WordPress
WordPress offers many features for your blog, such as themes, plugins, and a customizer.
- A theme is a design for your blog. To select a theme, go to Appearance > Themes.
- A plugin is a WordPress extension that gives you additional settings and features for your blog and for your WordPress, like a spam blocker, backup, social sharing buttons, and more. You can see your plugins and find new ones to install by going to Appearance > Plugins.
- The Customizer lets you change your blog’s colors, fonts, and menus. To see it, go to Appearance > Customize.
If you need help using WordPress, visit the WordPress help center here.
Phase Two: How to Write Blog Posts
In this section, I will show you how to write good blog posts using WordPress. Here are the steps:
- Learn how to write.
- Get topic ideas.
- Follow this process for each post:
- Make an outline.
- Research the subject.
- Write your first draft.
- Add visuals and links.
- Make any corrections.
- Publish your post.
Step 1: Learn How to Write
First, let’s learn how to write in WordPress. Let’s talk about the difference between posts and pages, and how WordPress uses blocks to represent stuff on your blog.
Posts vs Pages
WordPress makes a difference between posts and pages. You will see “Posts” and “Pages” on the left side of your dashboard.
- A post is an article for your blog. Blog posts are created and updated regularly.
- A page on your blog is static. Unlike posts, they do not need regular updates. They provide info about your blog, like an about page and a privacy policy.
Practice Editing a Page
Now, you’re ready to practice writing. Follow these steps:
- Go to “Pages” or “Posts” on the left side of your dashboard.
- You’ll see an example page. Click on it to see the WordPress editor.
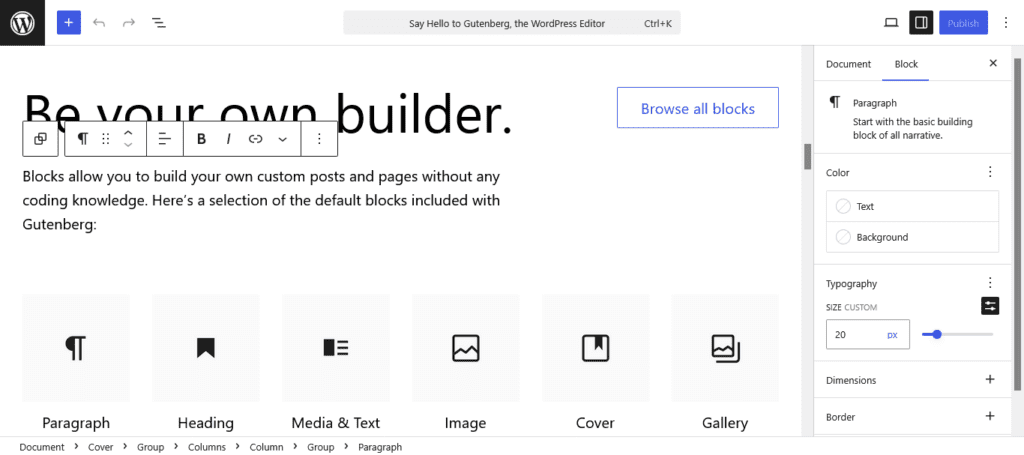
- Notice the blocks that make up the page, like paragraphs, images, and lists.
- To add a block, click the “+” icon at the top left.
- If you know what type of block you want, make a new line and type “/” followed by the name of the block.
- Experiment with adding and editing blocks.
Step 2: Get Topic Ideas
Now you need to figure out what topics in your niche you can write about. There are a few ways you can do it:
- Visit the website AnswerThePublic, enter your niche, and it will give you ideas for topics you can cover. These topic ideas are actual keywords people are searching for.
- Think of other questions that people in your niche may be asking. Enter the question into Google. If blogs and videos are answering the question, you’ve got a topic idea.
- You can also use the “People Also Ask” section in Google to get more topic ideas.
Be sure to write down any topic ideas you find on a note-taking app or a piece of paper. That way, you can go back to this list when you want to make a blog post.
Step 3: The Writing Process
Now that you have topic ideas, I’ll show you a method you can use anytime you want to write a blog post.
- Make an outline.
- Research the subject.
- Write your first draft.
- Add visuals and links.
- Make any corrections.
- Publish your post.
1. Research the Subject
First, pick a topic that you want to write about from your list of topic ideas.
Even if you already know some things about your topic, it’s a good idea to do research. Enter your topic into Google or YouTube and skim through a few blogs or videos. This way, you will have more accurate and up-to-date information to include in your blog post.
Make sure to put down anything you learned on a note-taking app or piece of paper.
Tip: Avoid using AI for research and, instead, look for information from trusted sources.
2. Make an Outline
You’re now ready to write an outline. Make sure every aspect of your topic is being covered in your outline. Here’s an example outline of a blog post on how to play the drums:
- Introduction (summarize what you’ll be talking about)
- Parts of a Drum Kit
- Bass Drum
- Snare Drum
- Tom-Toms
- Cymbals
- How to Read Sheet Music
- How to Handle Drumsticks
- How to Practice with Drums
- Make Simple Beats
- Play Rudiments
- Play Drum Fills
- Use a Metronome
- Conclusion
Don’t worry: you can change your outline as you go if needed.
If you need help, Ahrefs can show you how to write an outline for your post.
3. Write Your First Draft
It’s time to write a draft for your post.
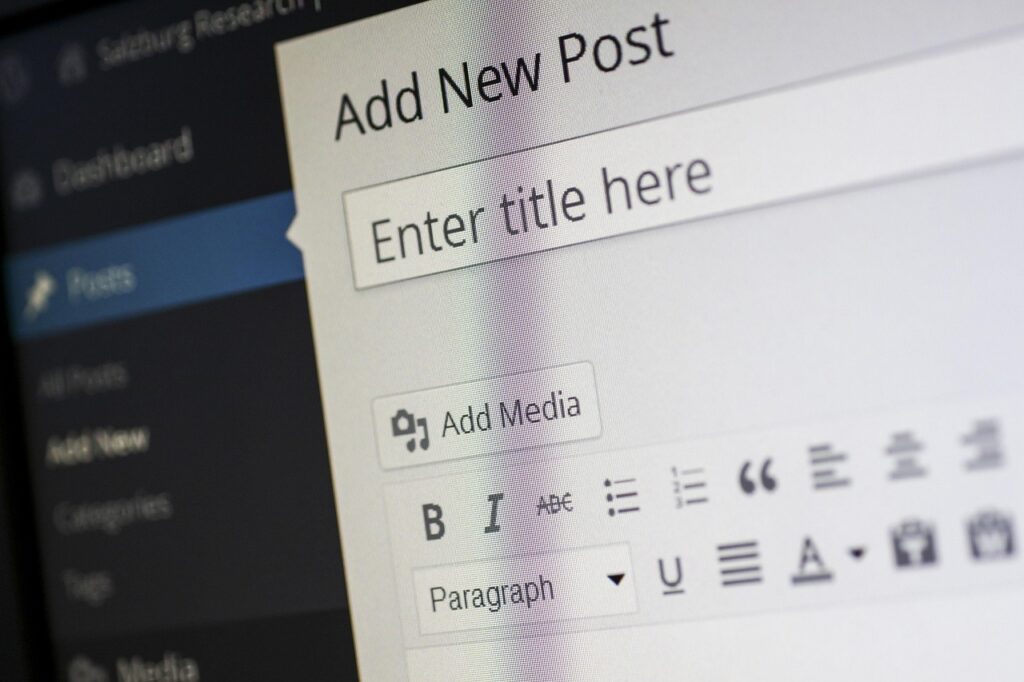
- Go to Posts > Add New Post to create a post.
- Enter a title for your post. Use emotional words like “simple,” “free”, or “best” to make people curious.
- In the editor, start writing your post.
As you write, use simple and friendly language, follow your outline, and include any information you learned. Remember to click “Save as draft” to save your work without publishing it.
4. Add Visuals and Links
Next, add visuals and links to complement the text and make it less boring.
- Link to websites mentioned in your post and websites that can provide additional information. To link, select the text you want to be clickable, then click the Link icon.
- To add an image, add an image block near the relevant text. Then upload an image from your computer. Also, make sure to upload an image that will be your blog’s “featured image.”
To download images for your blog, you can take your own photos or screenshots. You can also design your own images using Canva.com. Or you can use third-party images from sites like Unsplash or Pixabay. Just make sure the images you get online have a free-to-use license.
5. Make Any Corrections
Your draft is done. Now skim through your post and check for any typos, grammar errors, missed visuals, or incorrect information.
You might want to read your post out loud to make sure it sounds good, too.
6. Publish Your Post
If everything looks good, click “Publish.” Your post will now be live on your blog!
Feel free to repeat this writing process for every blog post you make. Remember to publish blog posts regularly to keep your blog fresh and active.
Tip: Remember to create pages for your blog in addition to posts (click Pages on the left of your dashboard). Consider adding pages like an about page, a contact page, and especially a privacy policy to build trust with visitors and avoid legal issues.
Phase Three: How to Get Traffic to Your Blog
So you have a blog with some posts. Now all you need is visitors to your blog. In this section, I’ll show you free ways to get traffic to your blog.
- Search engine optimization
- A YouTube channel
- Social media and forum accounts
Method 1: Search Engine Optimization
Search engine optimization, or SEO for short, is the process of optimizing your blog to rank for keywords on search engines, including Google. With billions of searches a month, Google is a great place to get traffic to your blog.
SEO starts with “keyword research,” where you figure out what keywords in your niche are easy to rank for based on competition. You then write high-quality content based on these keywords. SEO also involves linking between posts, linking to other websites, improving loading speed, setting up schema, and other things.
All of this can be broken down into these steps:
- Look up each of your topic ideas on Google to see how much competition there is.
- If there are big brands in the results, the topic is competitive, so remove it from your list.
- Download the Yoast plugin to help you write high-quality posts based on your keywords.
- Link between other blog posts and other websites as you write.
- If your site loads slowly, download the W3 Total Cache plugin to help speed up your site. You can learn how to set up W3TC here.
Keep in mind that ranking on Google will not be immediate. It will take time, especially if you are a new blogger. Over time, as you build out your blog and other people share your blog, it will become a bit easier to rank.
Method 2: A YouTube Channel
With millions of active users, YouTube is also a great place to get traffic to your blog. When you make YouTube videos, you can send viewers to your blog to learn more about what you discuss in your videos.
- Post your blog content as videos on your YouTube channel.
- Redirect your YouTube viewers to your blog for more information.
- Encourage viewers to like, subscribe, and share your content.
You can also learn how to make money with YouTube as another source of income.

Method 3: Social Media and Forum accounts
Many people are also on social media platforms like Facebook, X, Instagram, Pinterest, and TikTok, and forum sites like Reddit and Quora. You can get readers from those places, too.
- Pick one social media platform and create an account for your blog.
- Post content on your social page. Link to your blog any time you post.
- If you’re on Facebook, write a full post.
- If you’re on Pinterest, create a pin.
- If you’re on TikTok, film a short video.
- If you’re on a forum site, answer a question that relates to a topic on your blog.
- Encourage followers on your social media account to share your content.
Phase Four: How to Make Money with Your Blog
So you’re ready to make money with your blog! Awesome! I’ll show you how bloggers are making money and how you can do each of them step by step.
In 2021, RankIQ did a study, and they found that bloggers made money with one or more of these four methods:
- Allowing ads: showing ads on your blog
- Affiliate marketing: selling other people’s products on your blog
- Selling courses
- Sponsored posts: writing for another website
I recommend you pick one method to try before doing multiple methods. Once you pick a method, find the section for it below.
Method 1: How to Make Money Allowing Ads on Your Blog
What do we mean by “allowing ads?” Let me explain.
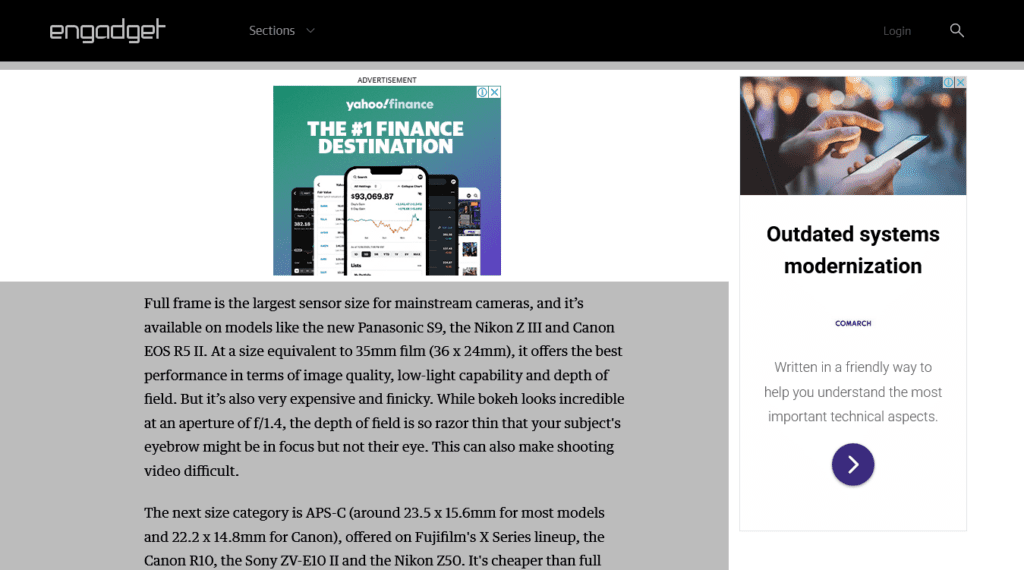
Brands need customers, so they run ads. Traditionally, these ads were on billboards, public transportation, radio, and television. Nowadays, most brands run ads online. To run online ads, these brands go to companies called ad networks. These networks deliver ads to the blogs and websites signed up with them.
This is where your blog comes in. You sign up for the ad network, they put ads on your blog, and they pay you anytime someone interacts with an ad on your blog.
This is a great way to make money with your blog if you have a lot of traffic. The more traffic that sees your ads, the more money you will make.
Before You Sign Up
A few things to keep in mind:
- Read the network’s publisher guidelines to make sure your blog complies.
- Check if an ad network has traffic requirements. This means your blog needs to have a certain amount of high-quality traffic to show ads. If you’re a beginner, pick a network that has no traffic requirements.
- Write a privacy policy if you haven’t already. To comply with data privacy laws like the GDPR, you need to tell readers how you and advertisers process their data. Here’s how to write a privacy policy.
List of Ad Networks to Join in 2025
Here are some popular ad networks you can choose from.
| Ad network | Description | Traffic requirements |
|---|---|---|
| Google AdSense | Google’s ad network and the most popular choice | None |
| Adsterra | Professional ad network with high payout rates | None |
| Ezoic | Google-certified network using data-driven technologies | None |
| Monetag | Network with several ad formats and payout methods | None |
| Mediavine | An ad network for professional content creators | 50K visits per month |
| Raptive | Lifestyle-oriented ad network | 100K visits per month, mostly from US, UK, Canada, New Zealand, and/or Australia |
| NitroPay | Tech-oriented ad network | 100K visits per month, mostly from Western markets |
Steps to Allow Ads On Your Blog
Follow these steps to start allowing ads on your blog:
- Pick one ad network from the list.
- Sign up for the ad network.
- Add your website to the ad network.
- Wait for approval from your ad network.
- Once approved, find your unique tracking code.
- Copy and paste this tracking code into your blog’s HTML.
If you picked Google AdSense, visit my AdSense guide to help you sign up.
How to Add Your Tracking Code
To paste your tracking code on WordPress, follow these steps:
- Select your tracking code and copy it.
- Go to Appearance > Theme File Editor.
- Under Theme Files, find the “header.php” file and click on it.
- Find the
<head>tag. Just below it, make a new line and paste your tracking code. - Click Update File to save your changes.
- Visit your ad network dashboard to test if you did it correctly.
If you have problems, visit your ad network’s help center.
How to Track Your Earnings
In your ad network account, you should see a place to track how much you earned. They will give you metrics like these:
- Impressions: How many readers saw your ads
- Clicks: How many readers clicked on your ads
- RPM (revenue per mille): how much money you made for every 1,000 views
- CPC (cost per click): how much money you made for every ad click
- CTR (click-through rate): the percentage of your readers who clicked on an ad
Remember: making money from ads requires some patience and a lot of traffic. If you need more traffic, go back to Phase 3 of this guide to get some ideas.

Method 2: How to Make Money with Your Blog Using Affiliate Marketing
Affiliate marketing is selling other people’s products for them.
When you become an affiliate marketer for a seller or brand, you get an affiliate link. This link contains code that tracks customers who sign up through you. If they buy something after clicking that link, you get credit for the sale and receive a fraction of the sale, called a commission.
You should sign up as an affiliate only for products related to your blog’s niche. That way, your content will align with whatever you’re selling.
There are a few benefits to doing affiliate marketing on your blog:
- You don’t have to create or own any products.
- You don’t have to do customer support.
- You don’t have to do a lot of marketing.
- You can grow your income by finding more expensive products to promote.
How to Sign Up as an Affiliate for a Brand
First, you need to pick a brand or product to be an affiliate for. Many big brands like Amazon, Weight Watchers, and Newegg have pages where you can sign up as an affiliate.
- Pick a brand or product related to your niche.
- Find a link to their affiliate program on their website (usually at the bottom).
- Create an affiliate account and include a link to your blog.
- If needed, wait for your account to be approved.
- Find your affiliate link and save it to your computer.
- In your blog posts, add a promotion to your link when it makes sense.
How to Sign Up for an Affiliate Network
Another way to find brands and products to promote is by signing up for an affiliate network. This is great if you don’t know what brand to promote, or you’d like to get some ideas.
Here is a list of some good affiliate networks:
| Network name | Description |
|---|---|
| Impact Radius | A network used by many big lifestyle and fashion brands worldwide |
| ClickBank | A network that has connected sellers with affiliates online for over 20 years |
| Awin | A network that has been supporting big brands with affiliates for over 25 years |
| CJ Affiliate | A network focused on selling low-ticket digital affiliate offers |
| JVZoo | A network focused on selling low-ticket digital affiliate offers |
After you pick an affiliate network, follow these steps:
- Create an account for the affiliate network.
- If needed, wait for your account to be approved.
- Find the network’s list of brands or products to promote.
- Select brands or products in your niche that you’re interested in promoting.
- If needed, wait for your affiliate partnership to be approved.
- Find your affiliate link and save it to your computer.
- In your blog posts, add a promotion to your link when it makes sense.
How to Track Your Earnings
To track how much you made, visit either your affiliate account on the product’s website or the affiliate network. You should see metrics such as these:
- Impressions: How many people saw your link
- Clicks: How many people clicked on your link
- Sales: How many people bought something with your link
- Commissions: The amount of money you made from sales
Remember: you only make money when someone buys a product or service using your affiliate link. If you don’t see any metrics and your blog has a lot of traffic, check to make sure your affiliate link is correct and is working.
Affiliate Marketing Tips
Here are some things to keep in mind when doing affiliate marketing:
- Only share your affiliate link in posts that relate to your product.
- Do not show your affiliate link too many times throughout your blog post.
- Use friendly language when promoting your affiliate link.
- Think about what your reader needs and explain how the product can help.
- Use a button, if possible, to show your affiliate link.
- Add an affiliate disclosure in posts that contain affiliate links. You can also make an affiliate disclosure page and in the footer (the bottom) of your blog.
For more information, check out my complete affiliate marketing guide.

Method 3: How to Make Money Selling Online Courses on Your Blog
An online course breaks down a large topic into bite-sized lessons for readers. With an online course, you can make it easier for your audience to learn something in your niche.
The best way to sell an online course for free is to upload video lessons to Udemy. Here is how to do it step by step.
- Sign up for a Udemy account.
- Pick a broad topic in your niche.
- On an app or piece of paper, make a list of all the different aspects of that topic.
- Do some research on each aspect of your topic.
- Record some videos where you explain that aspect.
- Create a course in your Udemy account.
- Upload your videos as course chapters.
- Apply to become a Premium Instructor.
- Once approved, set a price for your course.
- Publish your course and copy your course’s link.
- Paste links to your course in posts related to your course topic.
Once you get your first sale, you can see your course earnings in your Instructor Revenue Report.
Method 4: How to Make Money by Writing Sponsored Posts
Sponsored posts are blog posts that you write on behalf of another brand or influencer (also known as the “sponsor”) to help support their work. This can be a great way for the sponsor to get customers and for you to make some money. Here are a few examples of sponsored posts.
Follow these steps to start writing sponsored posts:
- Select a brand or influencer in your blog’s niche.
- Go to their contact page or search for their email.
- Tell them you are interested in writing a post for them on your blog. Explain to them how your blog post can help their audience.
- Wait for a reply and answer any questions they have.
- If they approve, write the sponsored blog post and publish it on your blog.
- Share your sponsored post with your sponsor to let them know it’s there.
- Once they see your sponsored post, they will pay you for your work.
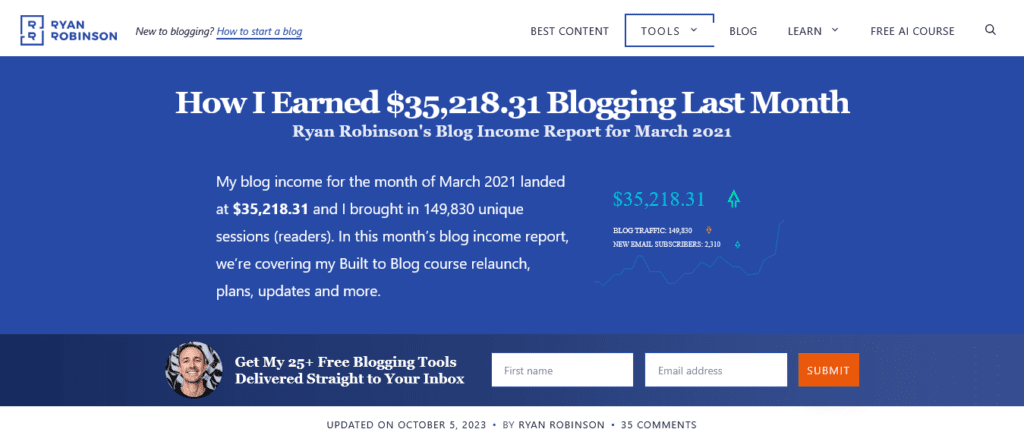
Blog Income Reports
To give you an idea of how much you could earn from your blog, check out these income reports from other successful bloggers.
Earnings disclaimer: There is NO guarantee that you will make this much money with your blog. The amount of money you make will depend on the amount of hard work and investment you put into your blog. These reports are to show that it’s possible, but not guaranteed.
| Blog Name | Niche | Income Earned | Date earned |
|---|---|---|---|
| Making Sense of Cents | Personal Finance | Over $159,000 | November 2018 |
| Create and Go | Blogging | Almost $400,000 | All of 2022 |
| Cassie Scroggins | Mom Blog | $10,000 | January 2023 |
| Get on My Plate | Recipes | Almost $25,000 | July-September 2022 |
| Ryan Robinson | Online Business | $35,000 | March 2021 |
Scott Max also has a list of 100 popular blog income reports.
Frequently Asked Questions
Here are a few questions you might be asking about making money blogging as a beginner.
Yes, you can! According to a Master Blogging study, over 80% of Internet users are still reading blogs. This means bloggers are still making money as of 2025. For example, Living the Dream made over $7,000 in just the month of April 2025.
For more blog income reports, check out Create and Go’s list of highest-paid bloggers.
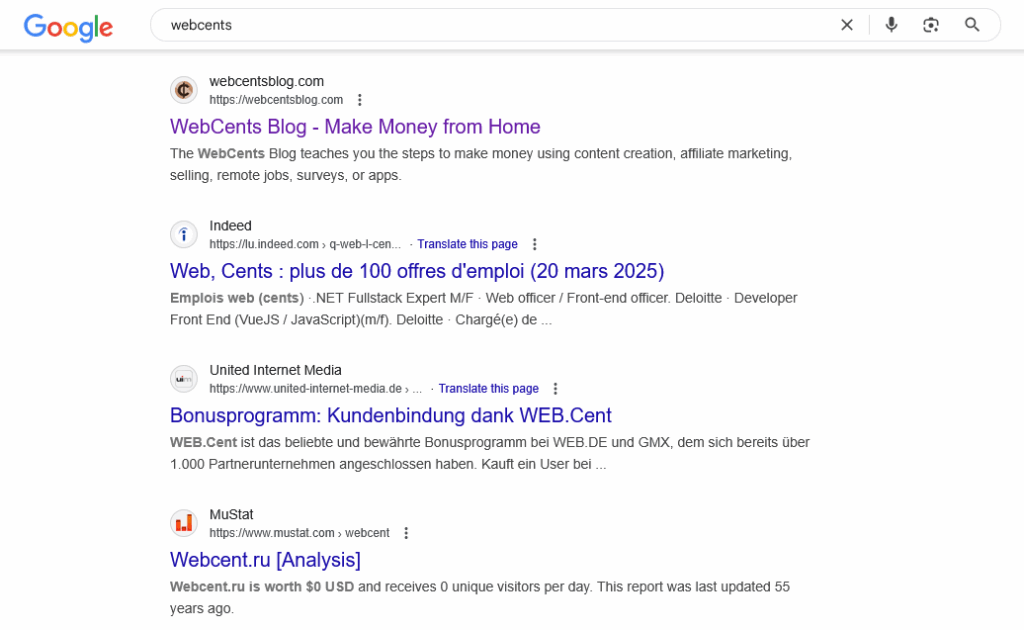
Yes, but it will be harder for you to make money from it. Most blog visitors come from Google, and Google rarely shows free blogs in search because they have ugly subdomains attached to their URLs (web-cents.blogspot.com instead of webcentsblog.com). However, if you pick a less competitive niche and spend a lot of time promoting your blog, it’s possible to make money with a blog for free.
It depends on how fast you get visitors to your blog. If you’re relying on Google search for visitors, you’ll probably have to wait a few months before you start making money. However, if you promote your blog on social media and forums, you can get visitors and earn money within a week or two.
In 2022, RankIQ did a study and found that food blogs, finance blogs, lifestyle blogs, and travel blogs were the types of blogs that tend to make the most money.
Conclusion
Now you know how to start a blog and make money with your blog as a beginner. Just to recap:
- To start a blog, pick a niche, a name, a domain, and a hosting provider.
- Use WordPress to help you write posts for your blog.
- Get topic ideas with ChatGPT and research them before writing.
- Use friendly language, links, and visuals as you write.
- Three ways to get blog traffic are SEO, YouTube, and social media.
- Four popular ways to make money with your blog are: allowing ads, doing affiliate marketing, selling online courses, and writing sponsored posts.
Hopefully, you now have a better idea of how to start a blog, how to create blog content, how to get traffic to your blog, and most importantly, how to make money with your blog.
Thanks for reading and happy earning!